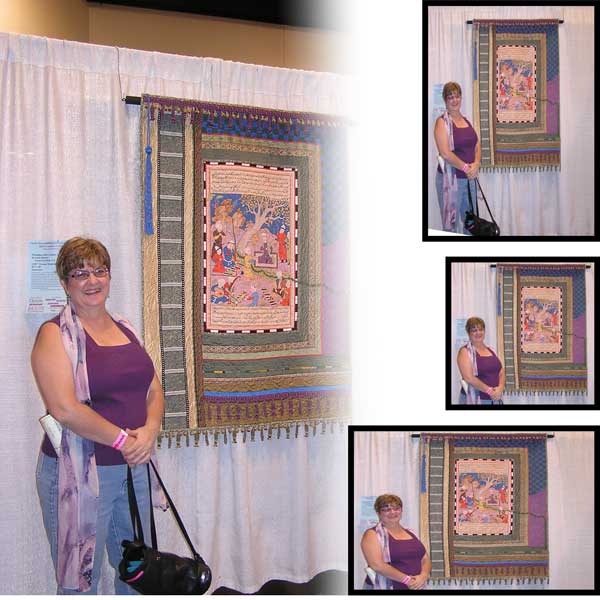
The Perspective Crop tool is one of the tools we teach in our Photoshop Elements (PSE) Essentials class. This tool is really great for straightening images that you have to shoot at an angle. It’s a hidden gem of Photoshop Elements.
Examples
When we are on vacation, we like to take photos of signs to help us remember details about the trip.

We also take lots of photos in museums and quilt shows but can’t always get far enough back to take a head-on photo.*

Instructions
Since it’s much quicker to show you how to use the Perspective Crop tool with a video (4:17 minutes), than with step-by-step instructions, here it is.
Do you want to learn more tips and tricks about PSE? There’s still room in our Photoshop Elements: Essentials 2 class. It just started.
* By the way, I took this photo in 2012 in California and actually had a wonderful visit with the artist in Hamburg, Germany in 2015. If your art medium is quilts and want to get to know other quilt artists from around the world, we can’t recommend Studio Art Quilt Associates enough. We’ve met wonderful people both virtually and in person. Visit SAQA.com to learn more!


2 responses to “Straighten Images In PSE With The Perspective Crop Tool”
Wow! This is just what I needed when I took pictures at a quilt show recently. Instead, I used the regular “crop” and my own “this looks off” or “this look okay” sense. I’ll up my game for next time 😉
Glad you found it helpful. I think I’ll make another post about how to get quilt proportions correct with PSE.