In a previous Tech Tuesday blog, we wrote about GYST (Getting Your Sh*t Together), the software program we use to track our artwork. Well, we had quite the response to that post, with people asking all sorts of great questions, so we thought we would follow up with a few more features of GYST. Today we’ll look at creating an artwork inventory.
Why Inventory?
Once you have more than a couple of pieces in one exhibition, you usually have to turn in an inventory of your work. This can be tedious to put together. In GYST, you can accomplish this with just a few clicks.
Create an Exhibition
Click on “Exhibitions” and input any information you want. Towards the middle of the page, click on “Get Artwork.” Add all the artwork you want. The sample below is a solo show we had in Richmond, California. We had nine pieces in this show.
Print Artwork Checklist
With your exhibition page still open, go again to the middle of the screen and click on “Print Artwork Checklist.” You will see the following print selections. Since this is an inventory, we want to select “List with Images.” If the gallery wants to have the prices on the inventory, this is the list to pick. You can experiment with the different lists.
Once you click print, you will be prompted to print to your printer, to a .pdf file, etc. Below is a screenshot of our inventory list. How cool is that? And it only took a few seconds! Adding the artwork to GYST does take some time, but the time savings appear as you use GYST more for things like creating an inventory list. Click here for the .pdf of our entire inventory list for this exhibition. The more we use GYST, the more we like it!
By the Way
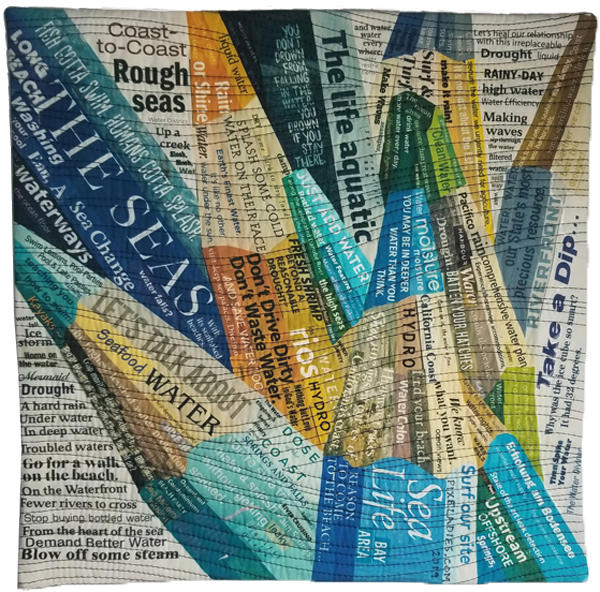
If you’re wondering about the artwork shown at the top of this post, it is called Watercolor Pencils 5: Let’s Talk about Water. We have donated it to the 2019 SAQA Benefit Auction. It will be in a special display at the International Quilt Study Center & Museum in Lincoln, Nebraska April through August. The auction will take place in September. We’ll keep you posted.

