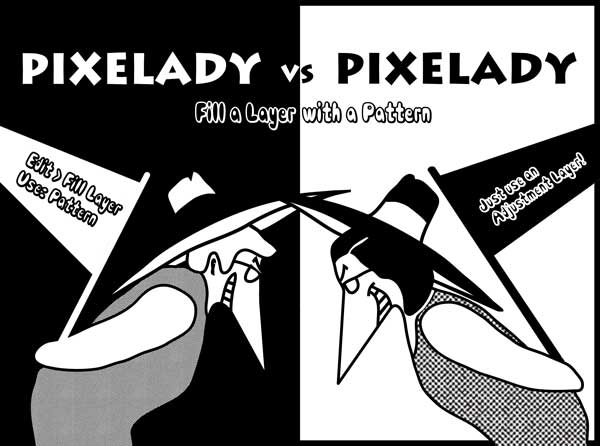
In this installment of Pixelady vs. Pixelady, we are going to show you how to fill a layer (or selection) with a pattern.
Deb’s Way
Yes, this is one of those old-dog ways. In fact, it was the only way to fill a layer (or selection) with a pattern when Deb started with Photoshop. You created a new layer or made a selection and filled it. If you had a selection, the drop-down menu said Fill Selection…. If not, it said Fill Layer…. In the example below, Deb created a rectangular selection and filled it with purple (just so you would see what she’s trying to fill). Trust us, the selection outlines (marching ants) are there.
![]()
Deb’s Way: The Step by Step
The steps to fill the layer/selection are shown below.
- Go to the menu bar, choose Edit, then Fill Selection…. The Fill Layer [sic] Dialog box will open.
- Next to the word “Use” click “Pattern.” Another dialog box will open, and you can choose a custom pattern.
- Click on the black triangle to the right of the Custom Pattern icon, and a third dialog box will open.
- Select the pattern you want to use. Alternatively, you can click on the black triangle to the right of Default in the third menu, and you will have another drop-down menu with more patterns to choose from.
- After you click on the fill you like, click OK.
![]()
The selection will be filled with that pattern. Take a look at the menu panel. There is still just one layer, and the thumbnail shows the rectangle filled with the panel.
![]()
Kris’ Way
Remember in a previous installment of Pixelady vs. Pixelady, Deb said she’d rather do things with one step if she could? Well, Kris would rather do something with an adjustment layer if she can. Why? Because it doesn’t change the actual pixels.
It’s more like putting a filter on a camera. The sky doesn’t change, but the way it looks through the viewfinder does. Kris started the same way as Deb. She made a rectangular selection and filled it with her signature color–pink.
![]()
Kris’ Way: The Step by Step
- Instead of using the Menu bar, Kris goes to the Layers panel and clicks on the Adjustment Layer icon. It’s
the blue and white circle. - Then she chooses Pattern. A dialog box opens with a pattern in the thumbnail.
- If you click on the black triangle to the right of the thumbnail, a dialog box will open. It’s the same one as the third dialog box in Deb’s example.
- Select the pattern you want to use. Alternatively, you can click on the black triangle to the right of Default in the third menu and you will have another drop-down menu with more patterns to choose from.
- After you click on the fill you like, click on the arrow to the right of the Scale number. A slider will appear and you can change the size of the pattern. (Take that, old dog! Deb’s way doesn’t have that option. I don’t EVEN want to tell you all the steps Deb would have to do to change the size of the pattern.) Once you like the size, click OK and chalk one up for Kris. [Kris wants to add that she still learns a LOT from the old dog!]
![]()
Take a look at Kris’ menu panel. Notice there are two layers. The original pink layer is still there, and
there’s a layer called Pattern Fill 1 with two thumbnails. The one on the left shows the fill pattern, and
the one on the right shows the filled selection area in white. The black part of that icon shows the part
of the image that is not filled with the pattern. You can turn each layer off and on independently, and
you can move the Pattern Fill 1 layer by itself, too.
![]()
For the record, in this example we used a pattern from Spoon Graphics’ free pack of 12 distressed halftone pattern textures. There are a gazillion patterns you can download. If you want to know how to install patterns to Photoshop Elements, leave a comment. If there’s enough interest, we’ll create a post about that.


3 responses to “Pixelady Vs. Pixelady: Fill Layer With Pattern”
I would love to learn how to download patterns AND extra brushes! I used to use PSE 7, and have not touched it in years. Seems like I have forgotten quite a lot!
Oh, we’ve blogged about adding pattern files to PSE here: https://www.pixeladies.com/adding-pattern-files-to-photoshop-elements/. BTW, our next round of classes start on Jan 24. PSE is up to PSE2022, so there are lots of new and improved things to learn!
Hi Darlene, PSE has change a whole lot since version 7. And gotten better in my opinion. If your system will support it, I recommend upgrading to PSE 2022. Here’s a link to our blog post about adding brushes:
https://www.pixeladies.com/adding-brushes-to-photoshop-elements/
And we’re just getting ready to start the new round of classes if you’re interested. http://www.pixeladies.com/classes