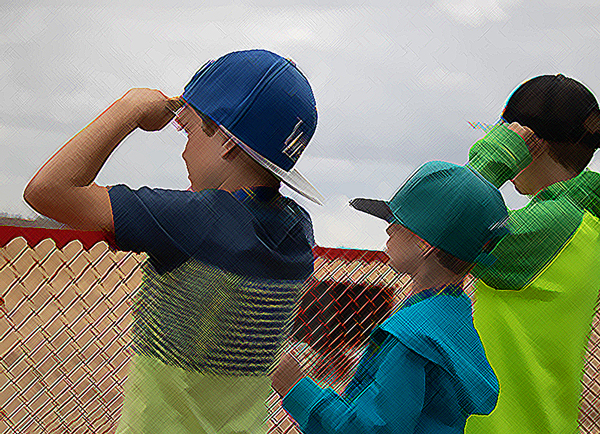
Last week we alluded to the importance of image resolution for your creative output. You can read that post here. Today we want to show you how the use of different image resolutions creates effective results in Photoshop Elements. (The image above was created using the crosshatch filter on low-resolution image.)
General Considerations
Our students often ask us about resolution for submitting artwork for exhibition. That is why we devote an entire lesson to resolution in our PSE2 class.* In general, though, we stress the following to our students:
- Read the instructions carefully! Yes, people will say things to us like, “But I don’t have an image in that resolution, so the one I have should be fine, right?”
- You can reduce the resolution of an image and still have it look crisp and clear, but you can’t increase the resolution and expect similar results.
- PPI is not DPI. Your digital image is measured in square pixels per inch (ppi), but once you print your image, you are printing circles, or dots, per inch (dpi). You will find that exhibitors tend to use the terms interchangeably.
- “Original Resolution.” There really is no such thing. You can take photographs at different resolutions, so your “original images” may have different resolutions depending on your camera/phone settings. If you are taking photographs for exhibition entries, be mindful of your settings BEFORE taking the photograph.
The “Original Image”
Below is the original image we worked with in last week’s blog post. Its resolution was 5257 x 3800. (We saved all images for this post at 600px wide after manipulations.)

Dry Brush Filter Example
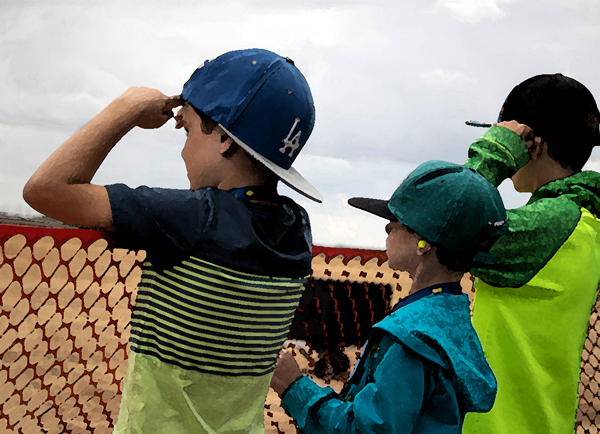
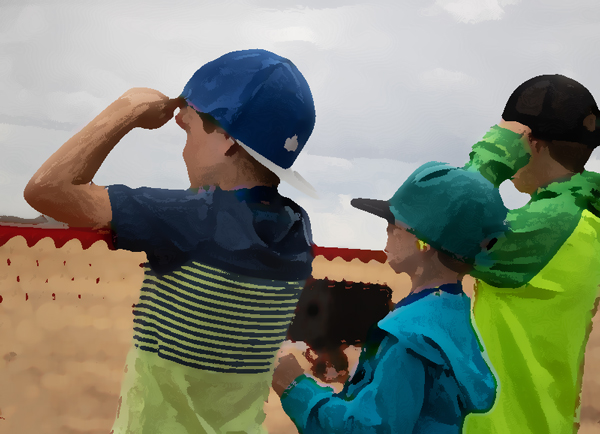
We applied the dry brush filter to the original image. The difference between the first and second view is that we filtered the first image after resizing the original image to 1200 pixels wide. We filtered the second image after resizing the original image to 800 pixels wide.
Black and White Filter Example
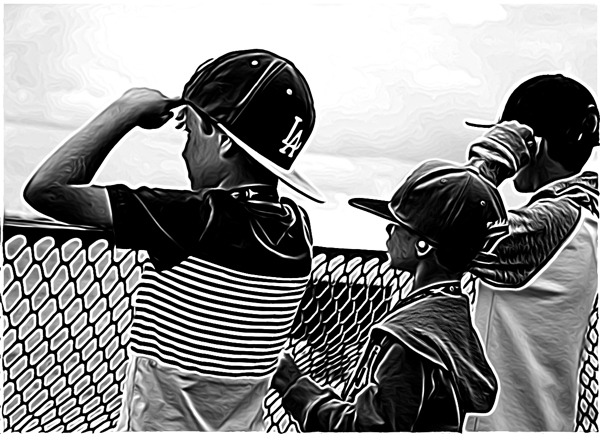
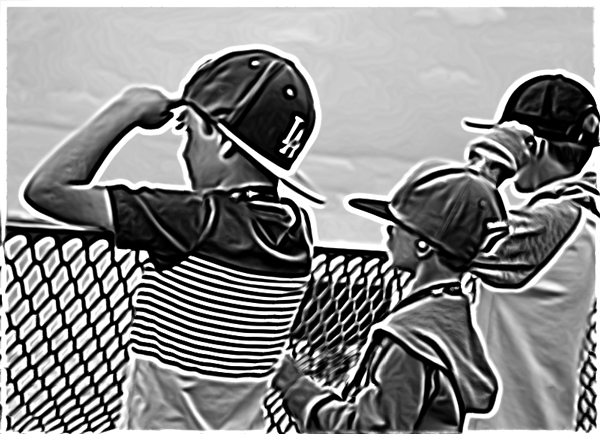
Here is an example of the same 1200 and 800 pixel-wide images, this time using the graphic novel filter. The changes here may be subtler than in the color examples, but it pays to play with different resolutions. Remember, too, that each filter has its own settings, which can will yield different results depending on the resolution of the image.
Keep Playing!
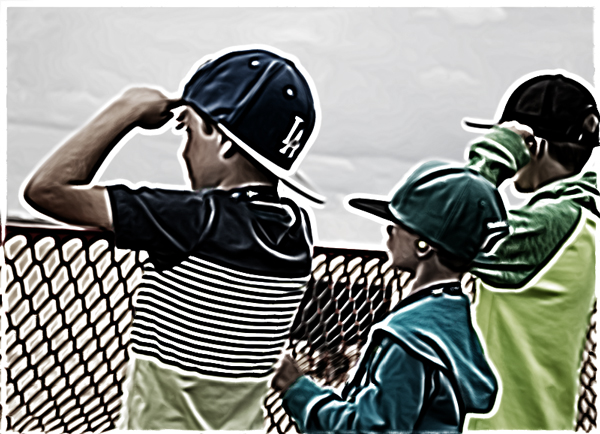
We’ve shown you these differences not because we think one filter looks better than the other. We just want you to see how limitless the possibilities are when you change the resolution of your image. And we want you to keep playing. You’ll never know what you’ll come up with. This is what happened when we accidentally combined both filters in the 800 pixel-wide image!
* If you’d like to learn more about Photoshop Elements, we’re starting our series of classes on February 1. Click here for more information and to register.
